|
| Post by The Grumpy One |
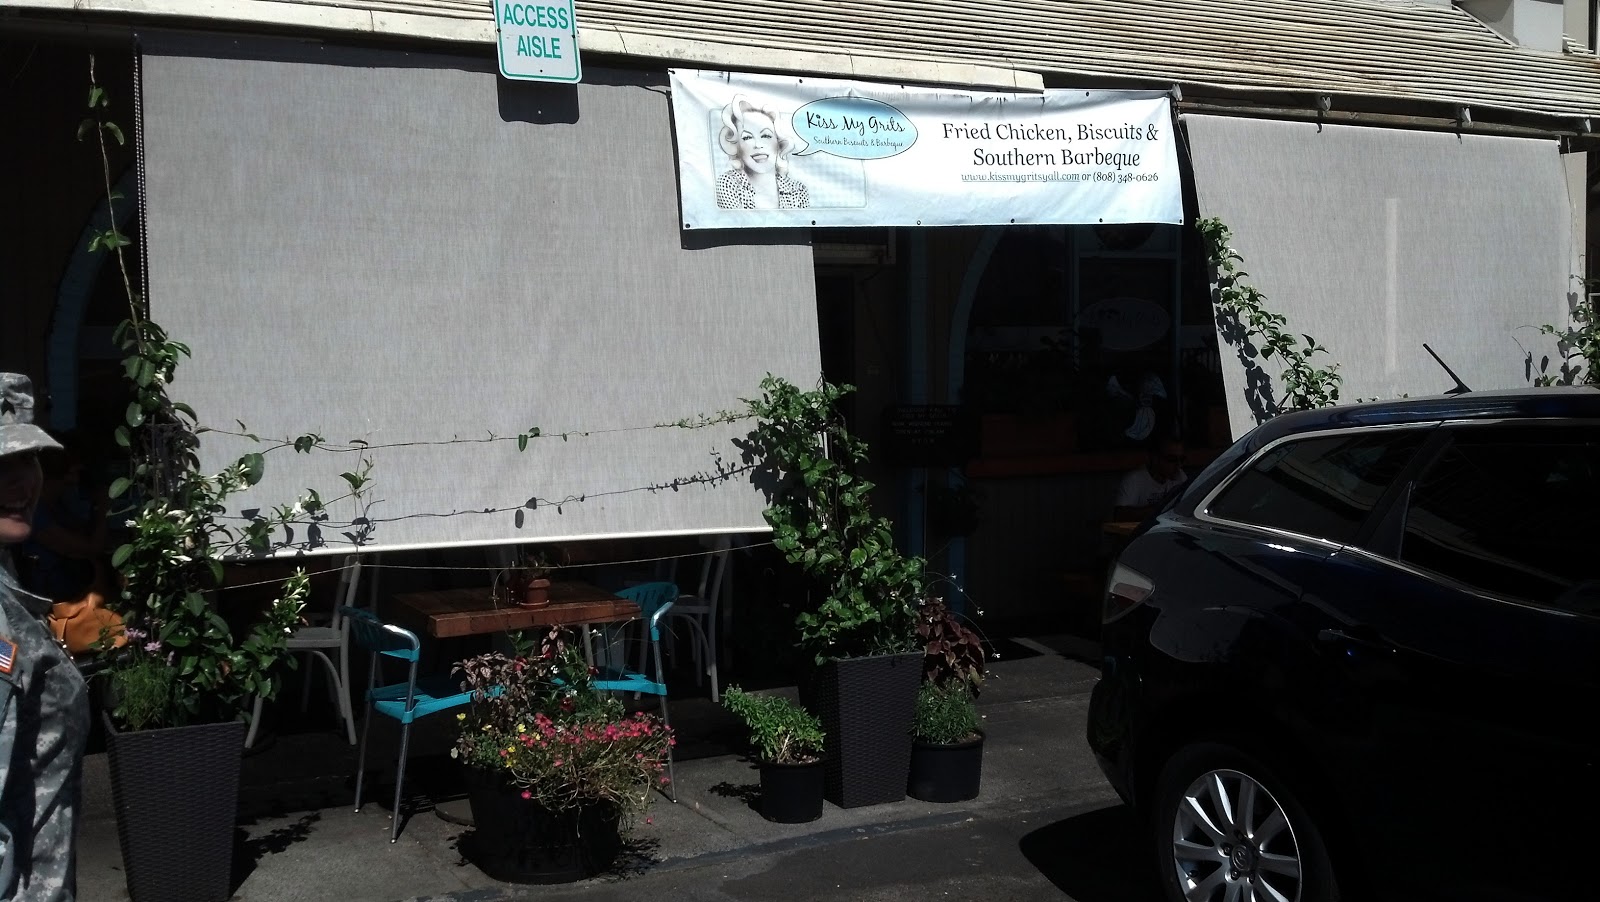
Kiss My Grits
Pucks Alley behind the Varsity Bar. 1035 University Avenue
Honolulu, HI
http://www.kissmygritsyall.com/
So you can tell by the title, I love this place. There are a couple things that would usually cause me to go on long rants, but the food and overall experience was worth it. I am warning you right now, this is going to be a longer post than usual, just because this place is so good. I ate here weeks ago, but I can still remember everything about it...it was that good.
WARNING!!! the four of us that ate here are critical on "Southern Food" one of us was born and raised in the south, and two of us were stationed in Georgia before we moved here.
Now this is one of my rants...It is hard to find, we parked, and were walking for a while before we found it. We actually passed it and didn't even notice it.
Second and last rant... like 4 tables outside, and like 8 tables inside and that is all. It is really neat looking inside, but I would hate to be here during lunch rush, you will never get a table.
That is it for the bad stuff. So all of the frustration of finding the place automatically went away when you sit down. There is nice old country music playing, and then we met our server.
A good server can make or break a place, and this guy was THE BEST!!!
His name is Hector, but he goes by Jethro. He was everything you think of when you think about southern hospitality. Nice, funny, helpful with menu choices, and the kind of person you want to just tell to sit down and have lunch with you. Also "The Girl" thought he reminded her of Cam from "Modern Family" which I kinda see it.

So as soon as we sat down, all four immediately knew what we wanted to drink...Sweet Tea.
I thought it was really good, not just that, it came in a mason jar which is a nice touch, and "Jethro" was ever so vigilant to make sure the jars were never empty.
I also want to use this space to post my favorite thing that was printed on the menu... "BLESS YOUR HEART, is kind of like the word Aloha. It can mean so many things like,"You're so kind," or "You just made me mad, but I can't say that right now." So, if you hear this common phrase...think about it!"
That little comment on the menu sums up the attitude here...and I LOVE IT!
Now on to the food, the only thing bad about a place like this...you want everything. It took me so much time playing mental rock-paper-scissors to find out what I was going to order. I ended up with...
Fried Chicken... if that wasn't good enough, it came with cole slaw, hush puppies, and a deviled egg. Just like my last review, I will rate my plate from worst item to best. There is one problem though, nothing can be classified as bad or worst.
Coleslaw...the only reason its on the bottom of the list is it is the closest thing to "healthy" on the plate, and you know how much I don't like healthy stuff...That being said, I would eat it again.
Deviled Egg... This was so good, but all that you get from eating it, is the craving for more, and the amount of food there is, you DON'T HAVE ROOM!!!
Fried Chicken...I know what you are thinking...the main dish isn't your top item...No...It wasn't...I was good, really good, but my favorite was.
HUSH PUPPIES... SOOO GOOD!!!! I want a magical dish with me at all times of the day that will just re-spawn these constantly. Not too greasy, perfect.
Now here is a little tricky thing though...that wasn't my favorite thing there... all four of us ordered a special order of the best thing in the world...
Their "Smoky Mac and Cheese." Yes that picture is of Mac and Cheese. Underneath all of that bacon and fried onion, lays the best macaroni and cheese I have tasted in my life. By the time I started eating it, I already finished all of my food and I was so full, but it was so good I powered through and ate it all.
The only real draw back of this wonderful heavenly eatery is...THE ITIS!!!
THE ITIS is that feeling you get when the food is so good, and you eat so much you don't want to ANYTHING.
That is the after math of "The Girl." This place is so good, you can't stop eating. You just keep eating until you fall over or waddle out.
FINAL REVIEW...FORCE YOURSELF TO FIND A REASON TO EAT HERE. Awesome staff (not just Jethro, the cook came out to check on us too.) Great food. Really reasonable prices. So worth it, this is the only place I can think of that I have to eat here one more time before I leave next year. In fact even though it would be really crowded, I am really thinking about having my farewell party there.